BUY NOW AND GET FREE SHIPPING
On all orders over 500,- (DK only)
BUY NOW AND GET FREE SHIPPING
On all orders over 500,- (DK only)
 1-2 DELIVERY DAYS
Order before 12 noon and we will ship the same business day
1-2 DELIVERY DAYS
Order before 12 noon and we will ship the same business day
 14 DAY RETURN RIGHT


BIQU
BIQU Panda Station - The perfect solution for Bambu Lab
BIQU Panda Station - The perfect solution for Bambu Lab
Couldn't load pickup availability
20+ in stock : 1-2 weekdays


Free shipping on orders over 500 DKK in DK

Ships from Roskilde DK

Local service center in Roskilde

1 year warranty

Customer Service
Email: hello@3dsaga.com
Phone: +45 69 15 31 11
All weekdays from 10:00 - 15:00
Showroom:
Monday - Thursday: 09:30 – 15:30
Friday: 09:30 – 15:00


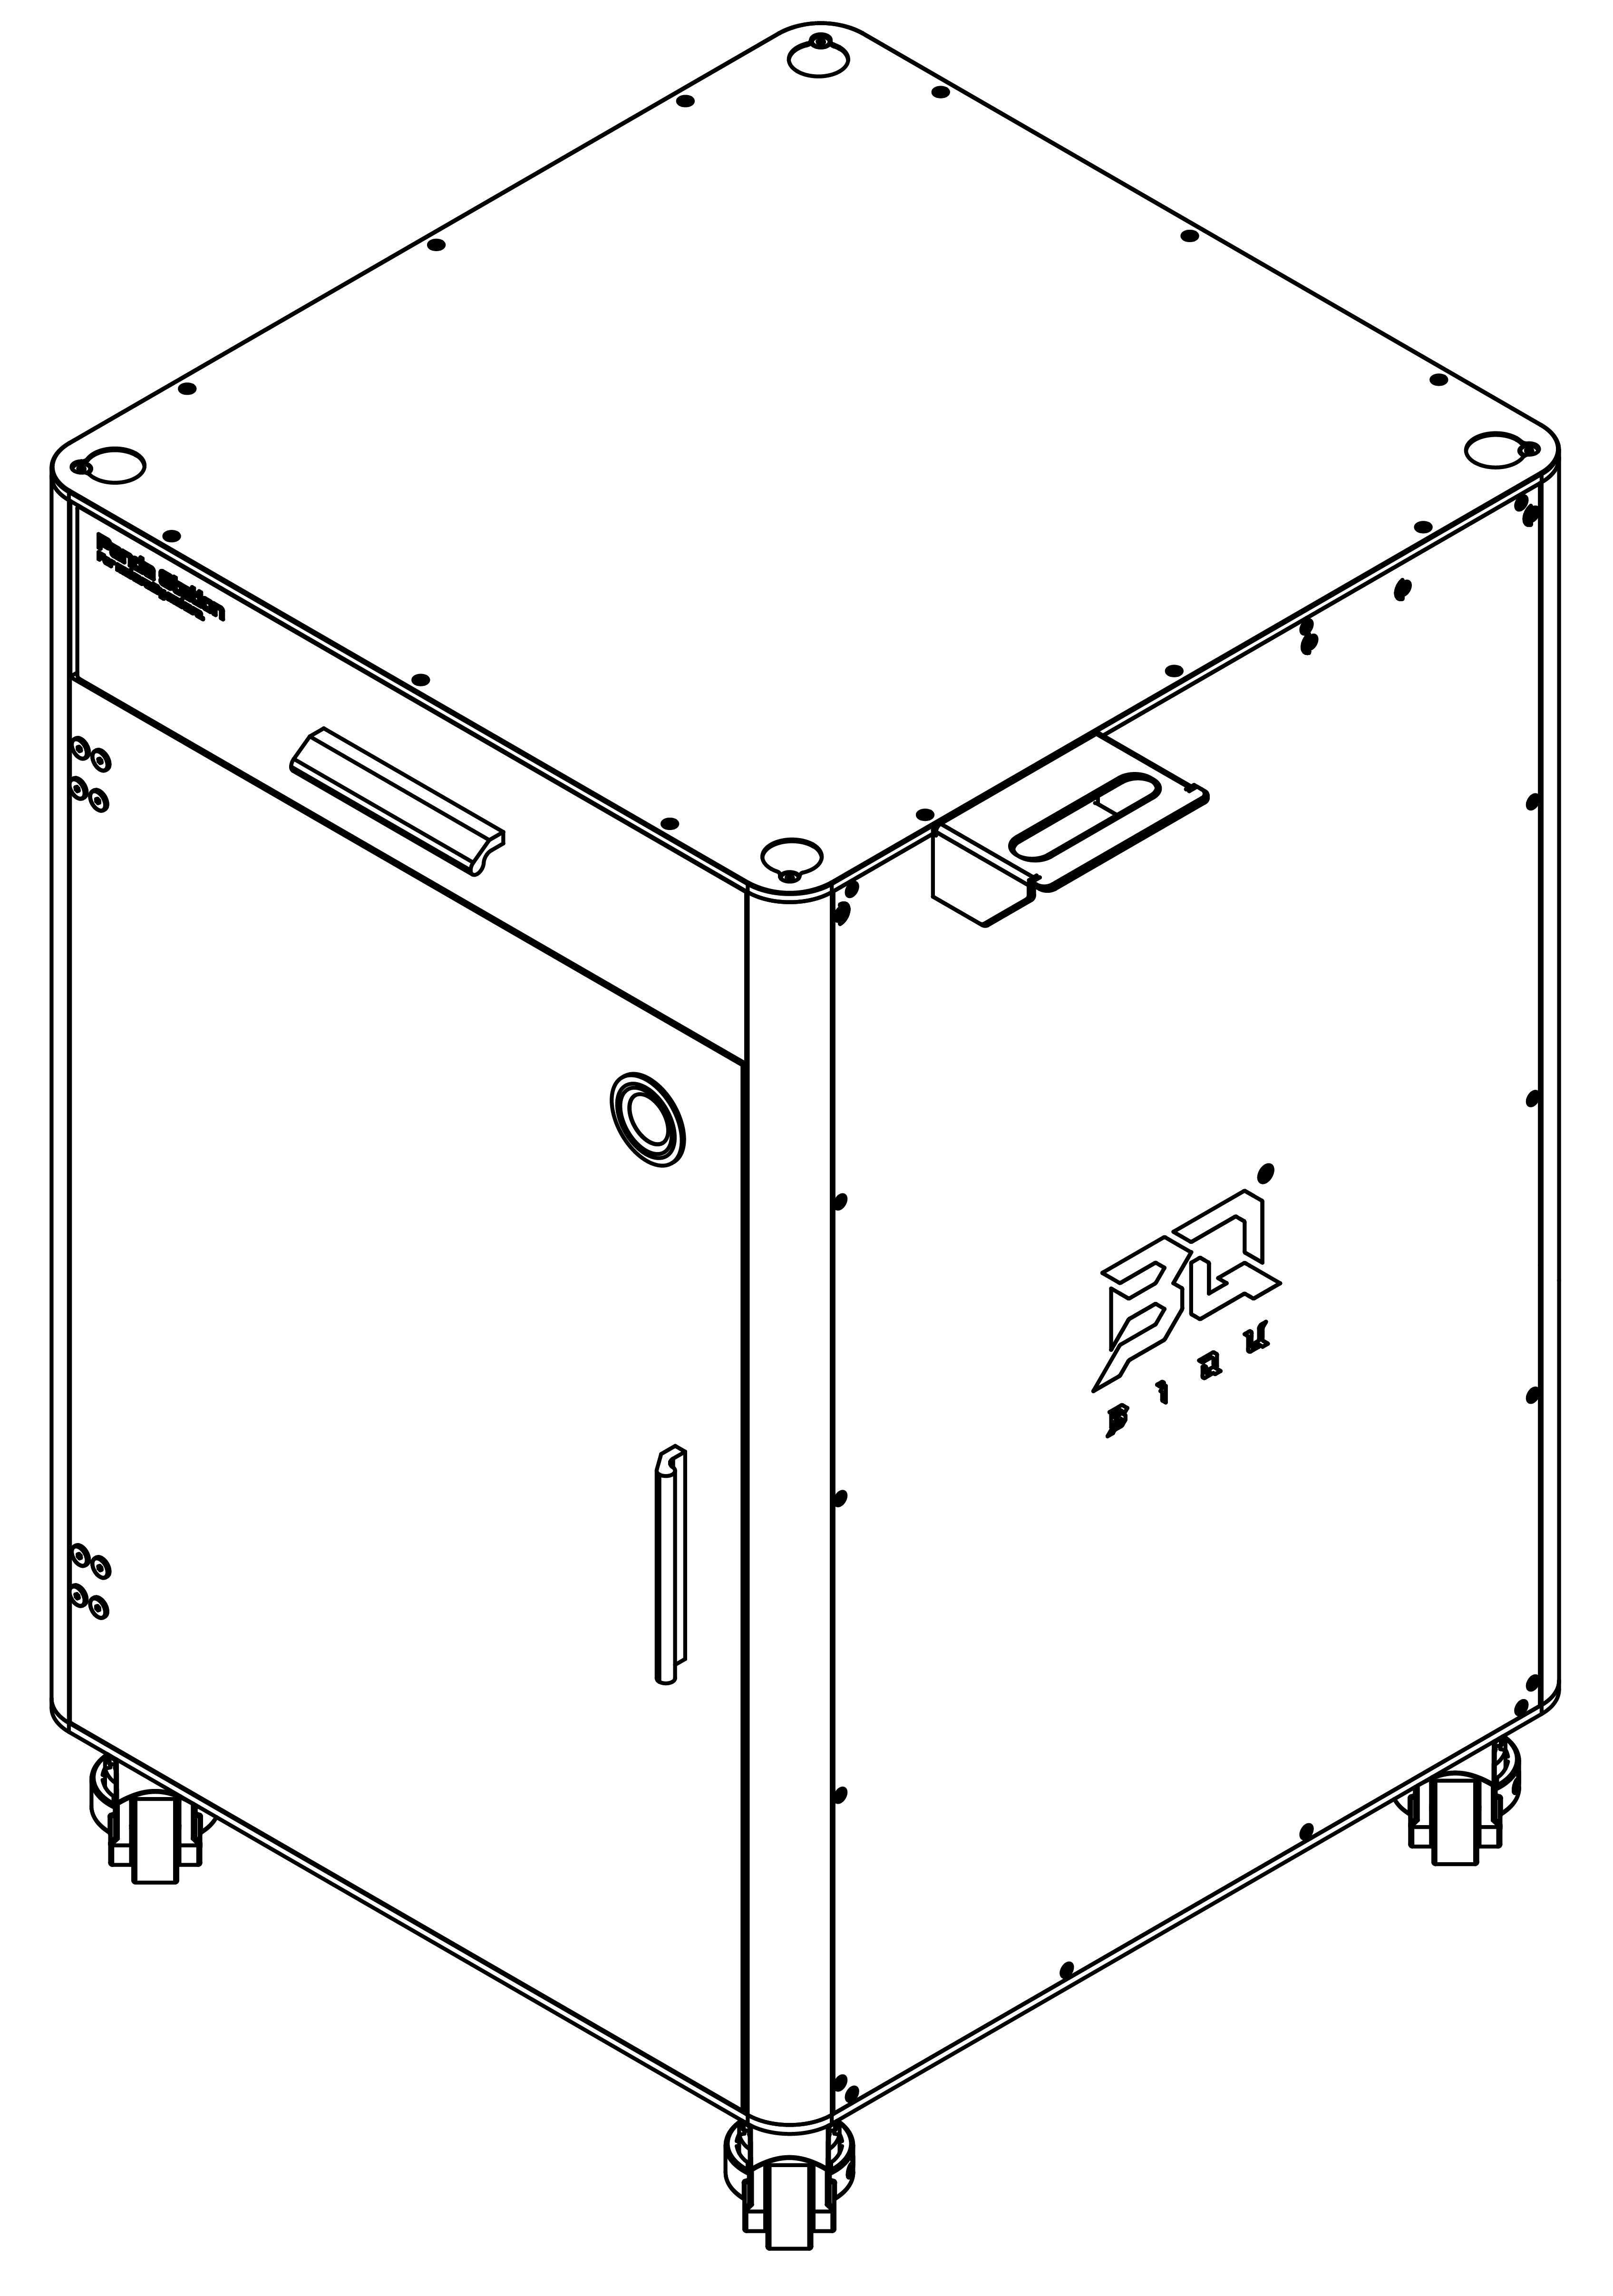
BIQU Panda Station
Highlights
- Tool storage
- Space for 2 AMS
- Comes with wheels
- Very stable base
- Partially assembled
- LED light included
- Systematic storage for tools, AMS, and small components
- Space-saving design that optimizes height utilization
- Solid and stable platform for Bambu Lab P1, X1, and H2
- Flexible modular design - expandable with other Panda modules
Bambu Lab H2 series, P2 series, P1 series, X1 series


Enclosed storage
Covered with PC panel to delay humidity increase. (The product is available both as an enclosed Panda Station and as a frame version – Naked Panda Station; the PC panel is only available in the enclosed version.)
High-strength materials
Made of aluminum profiles with high load capacity and long durability.
Supports expansion with RGB kit
Various lighting effects, controllable via Web UI and BQ App.
Built-in LED lighting
Illuminates the interior and supports automatic on/off when opening and closing the door for easier access.
Compatible with multiple models
Fits all devices with outer dimensions within 490 × 510 mm.


Specifications
-
Product name: BIQU Panda Station
-
Material: Aluminum, PC, steel
-
Compatibility: Suitable for all devices with outer dimensions within 490 × 510 mm

Package includes
|
Biqu Panda Station Naked
1 pc.
|
|
Biqu Panda Station Enclosure Kit
1 pc.
|
|
Biqu Panda Station Lightning Kit
1 pc.
|
Installation Guide for Panda Station
Step 1: Mount the wheels at the bottom
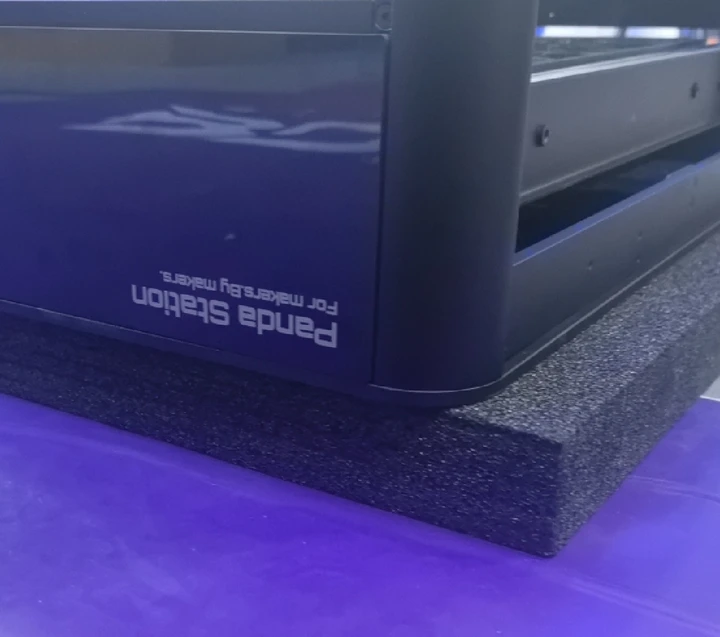
After unpacking, remove the foam from the packaging and place it under the bottom of the Panda Station to avoid damage. Remove the internal accessories from the Panda Station, then turn it over and mount the wheels at the bottom.
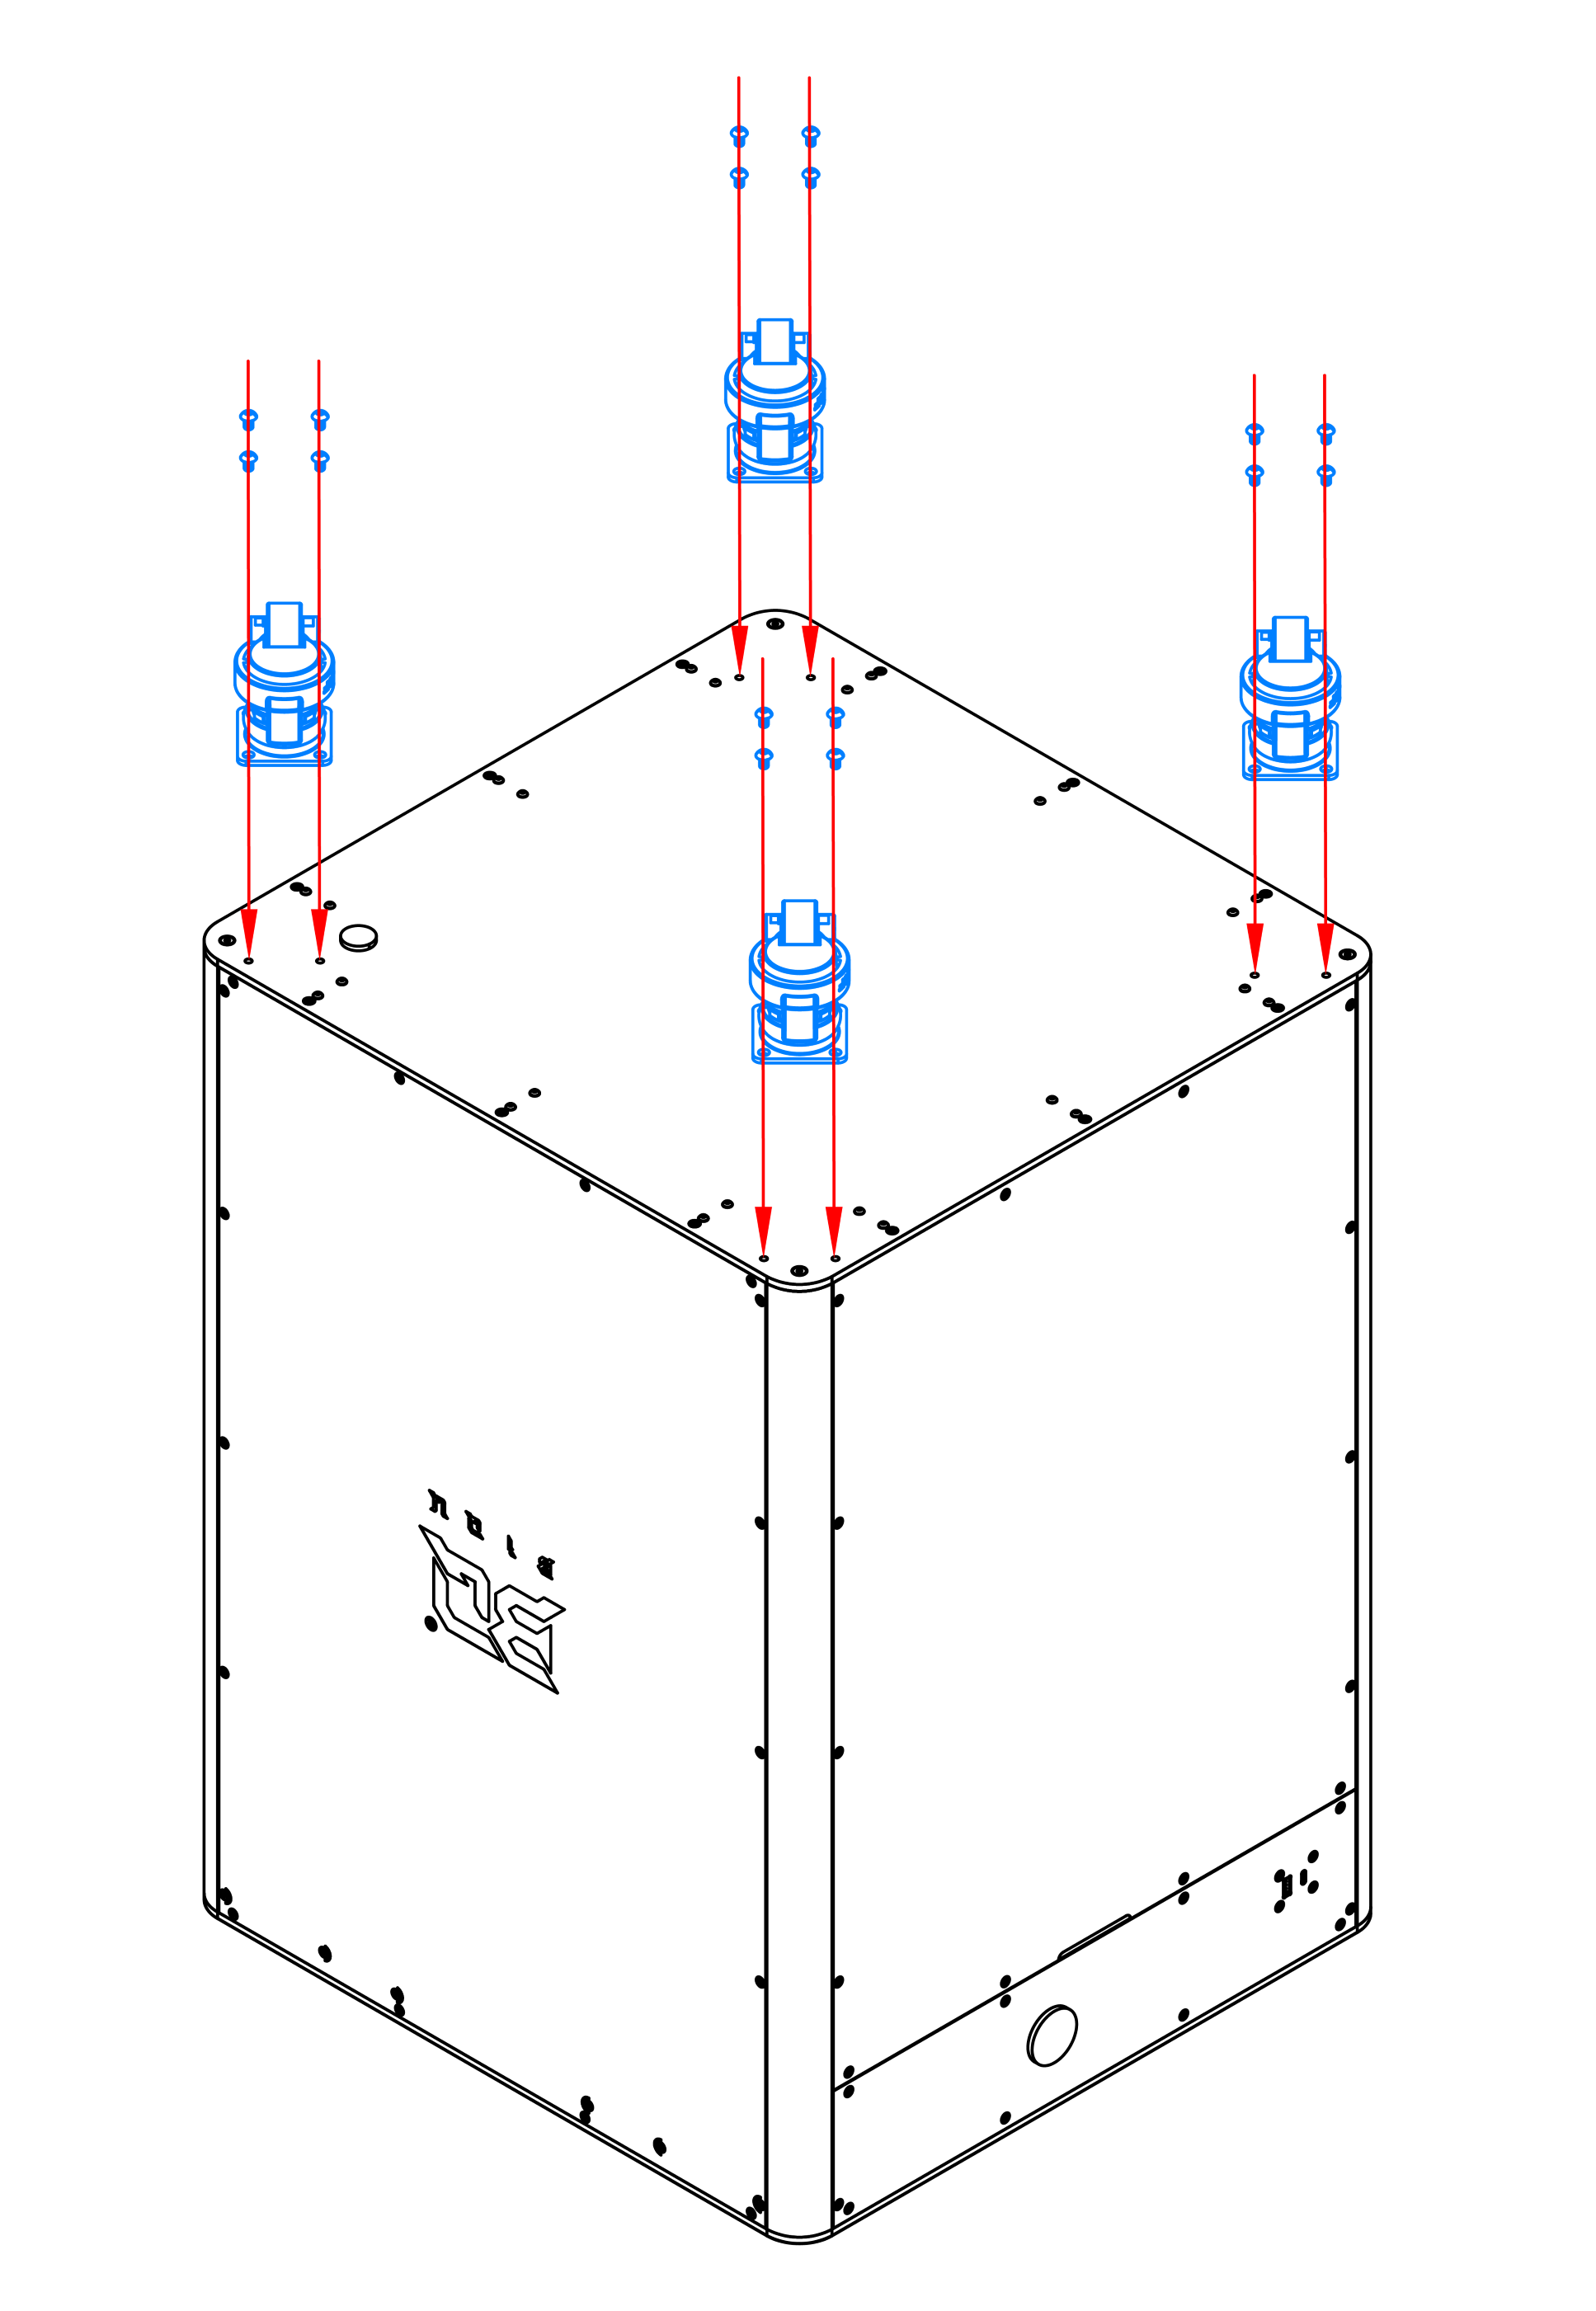
Use an Allen key to fasten the 16 pcs. M5×6 round head screws as shown to mount the wheels.
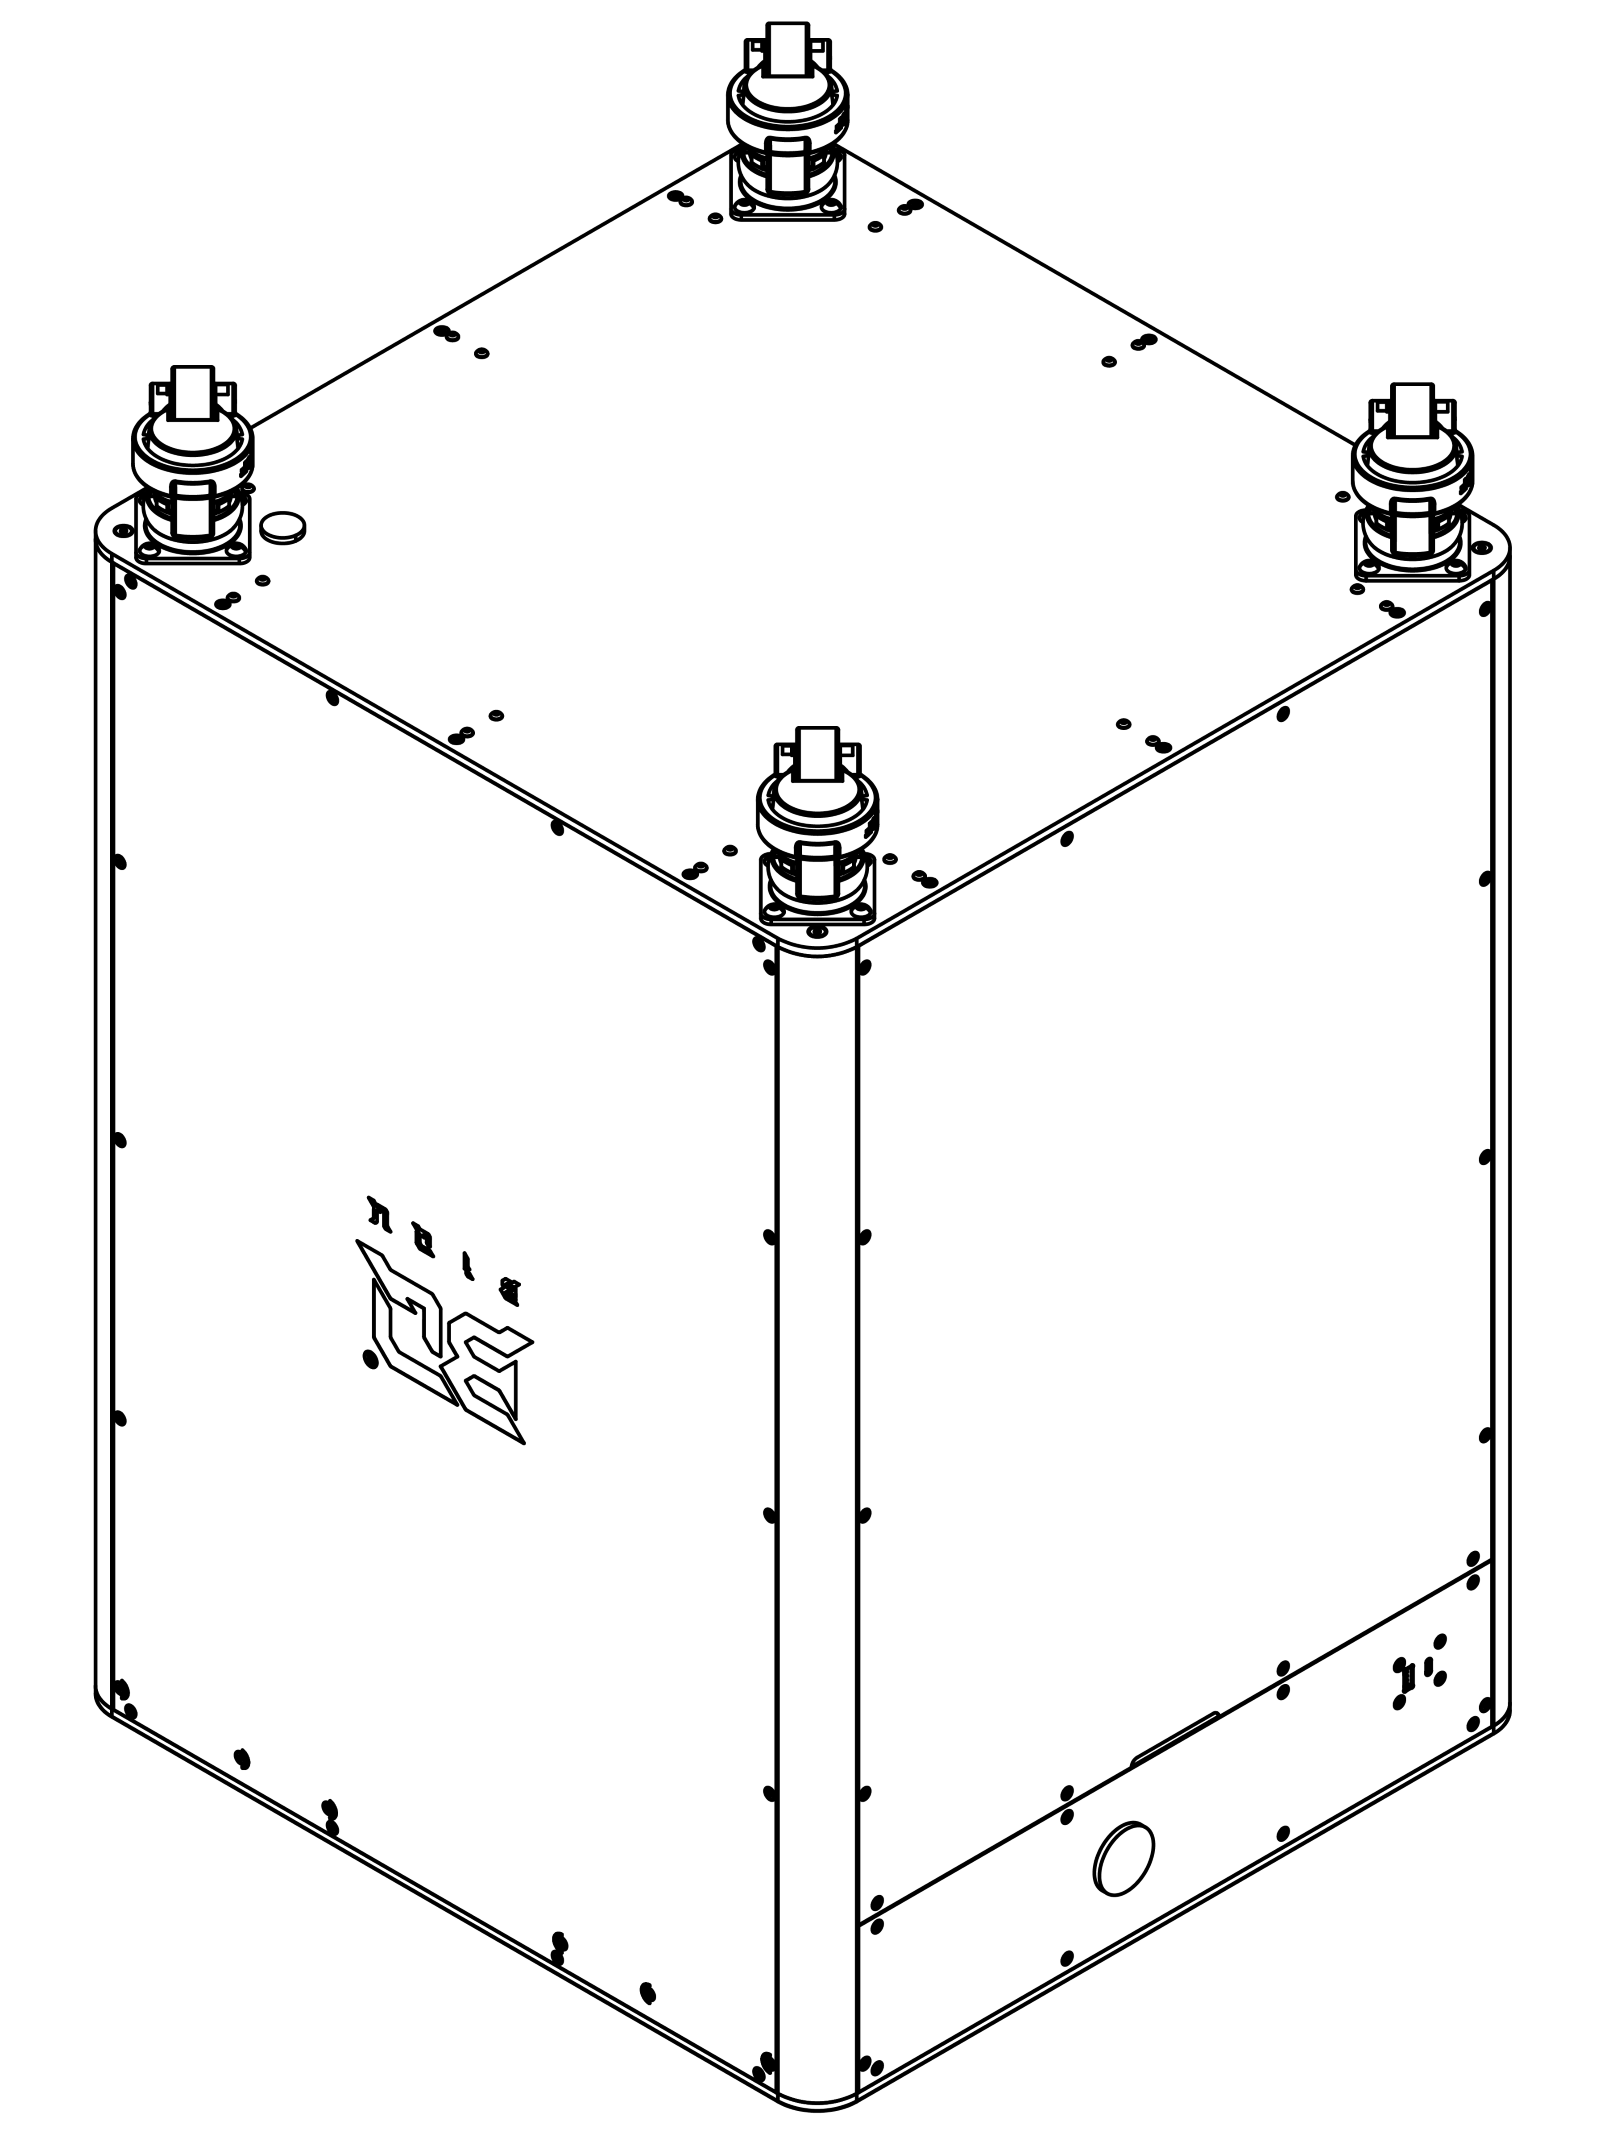
Completed assembly result
Step 2: Mount the handles
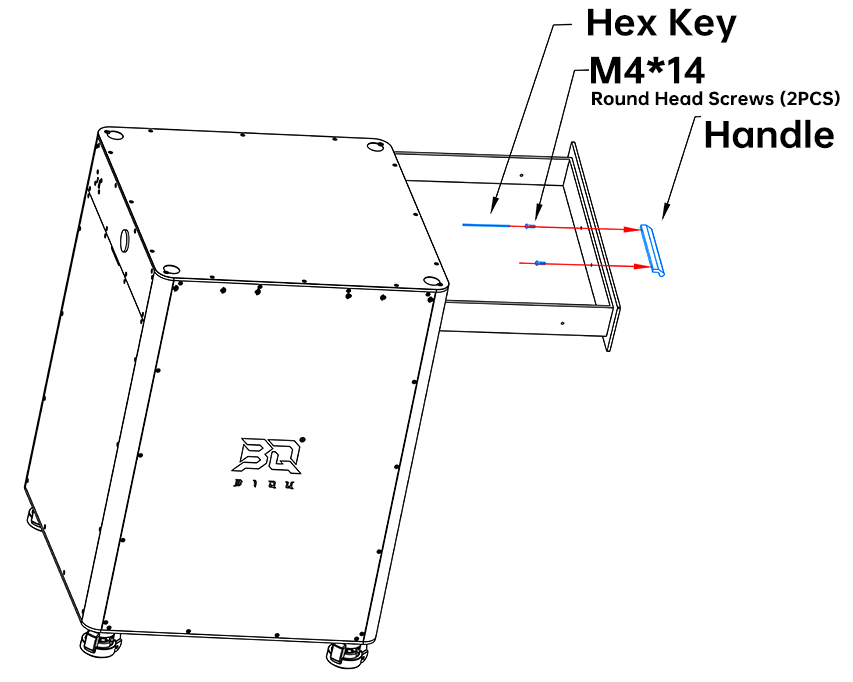
Use an Allen key to fasten the 2 pcs. M4×14 round head screws to mount the drawer handle.
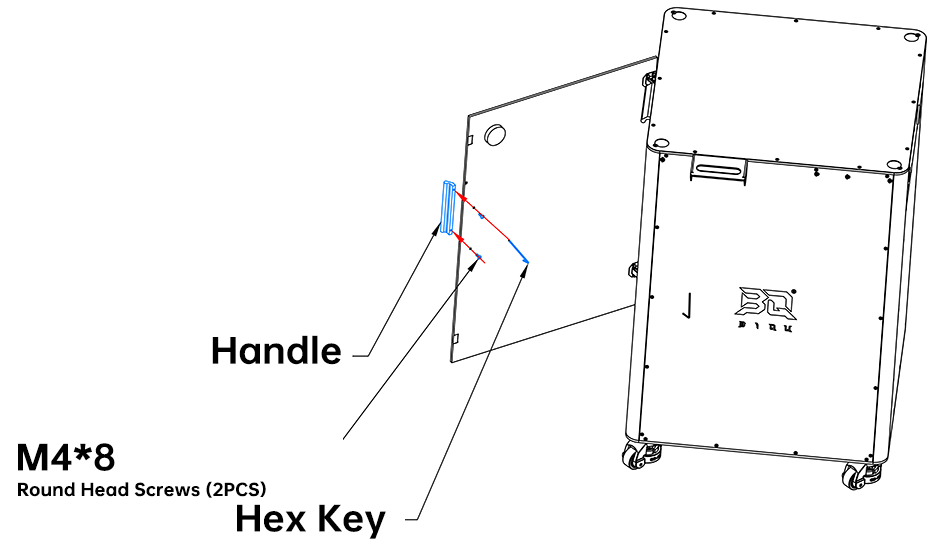
Use an Allen key to fasten the 2 pcs. M4×8 round head screws to mount the door handle.
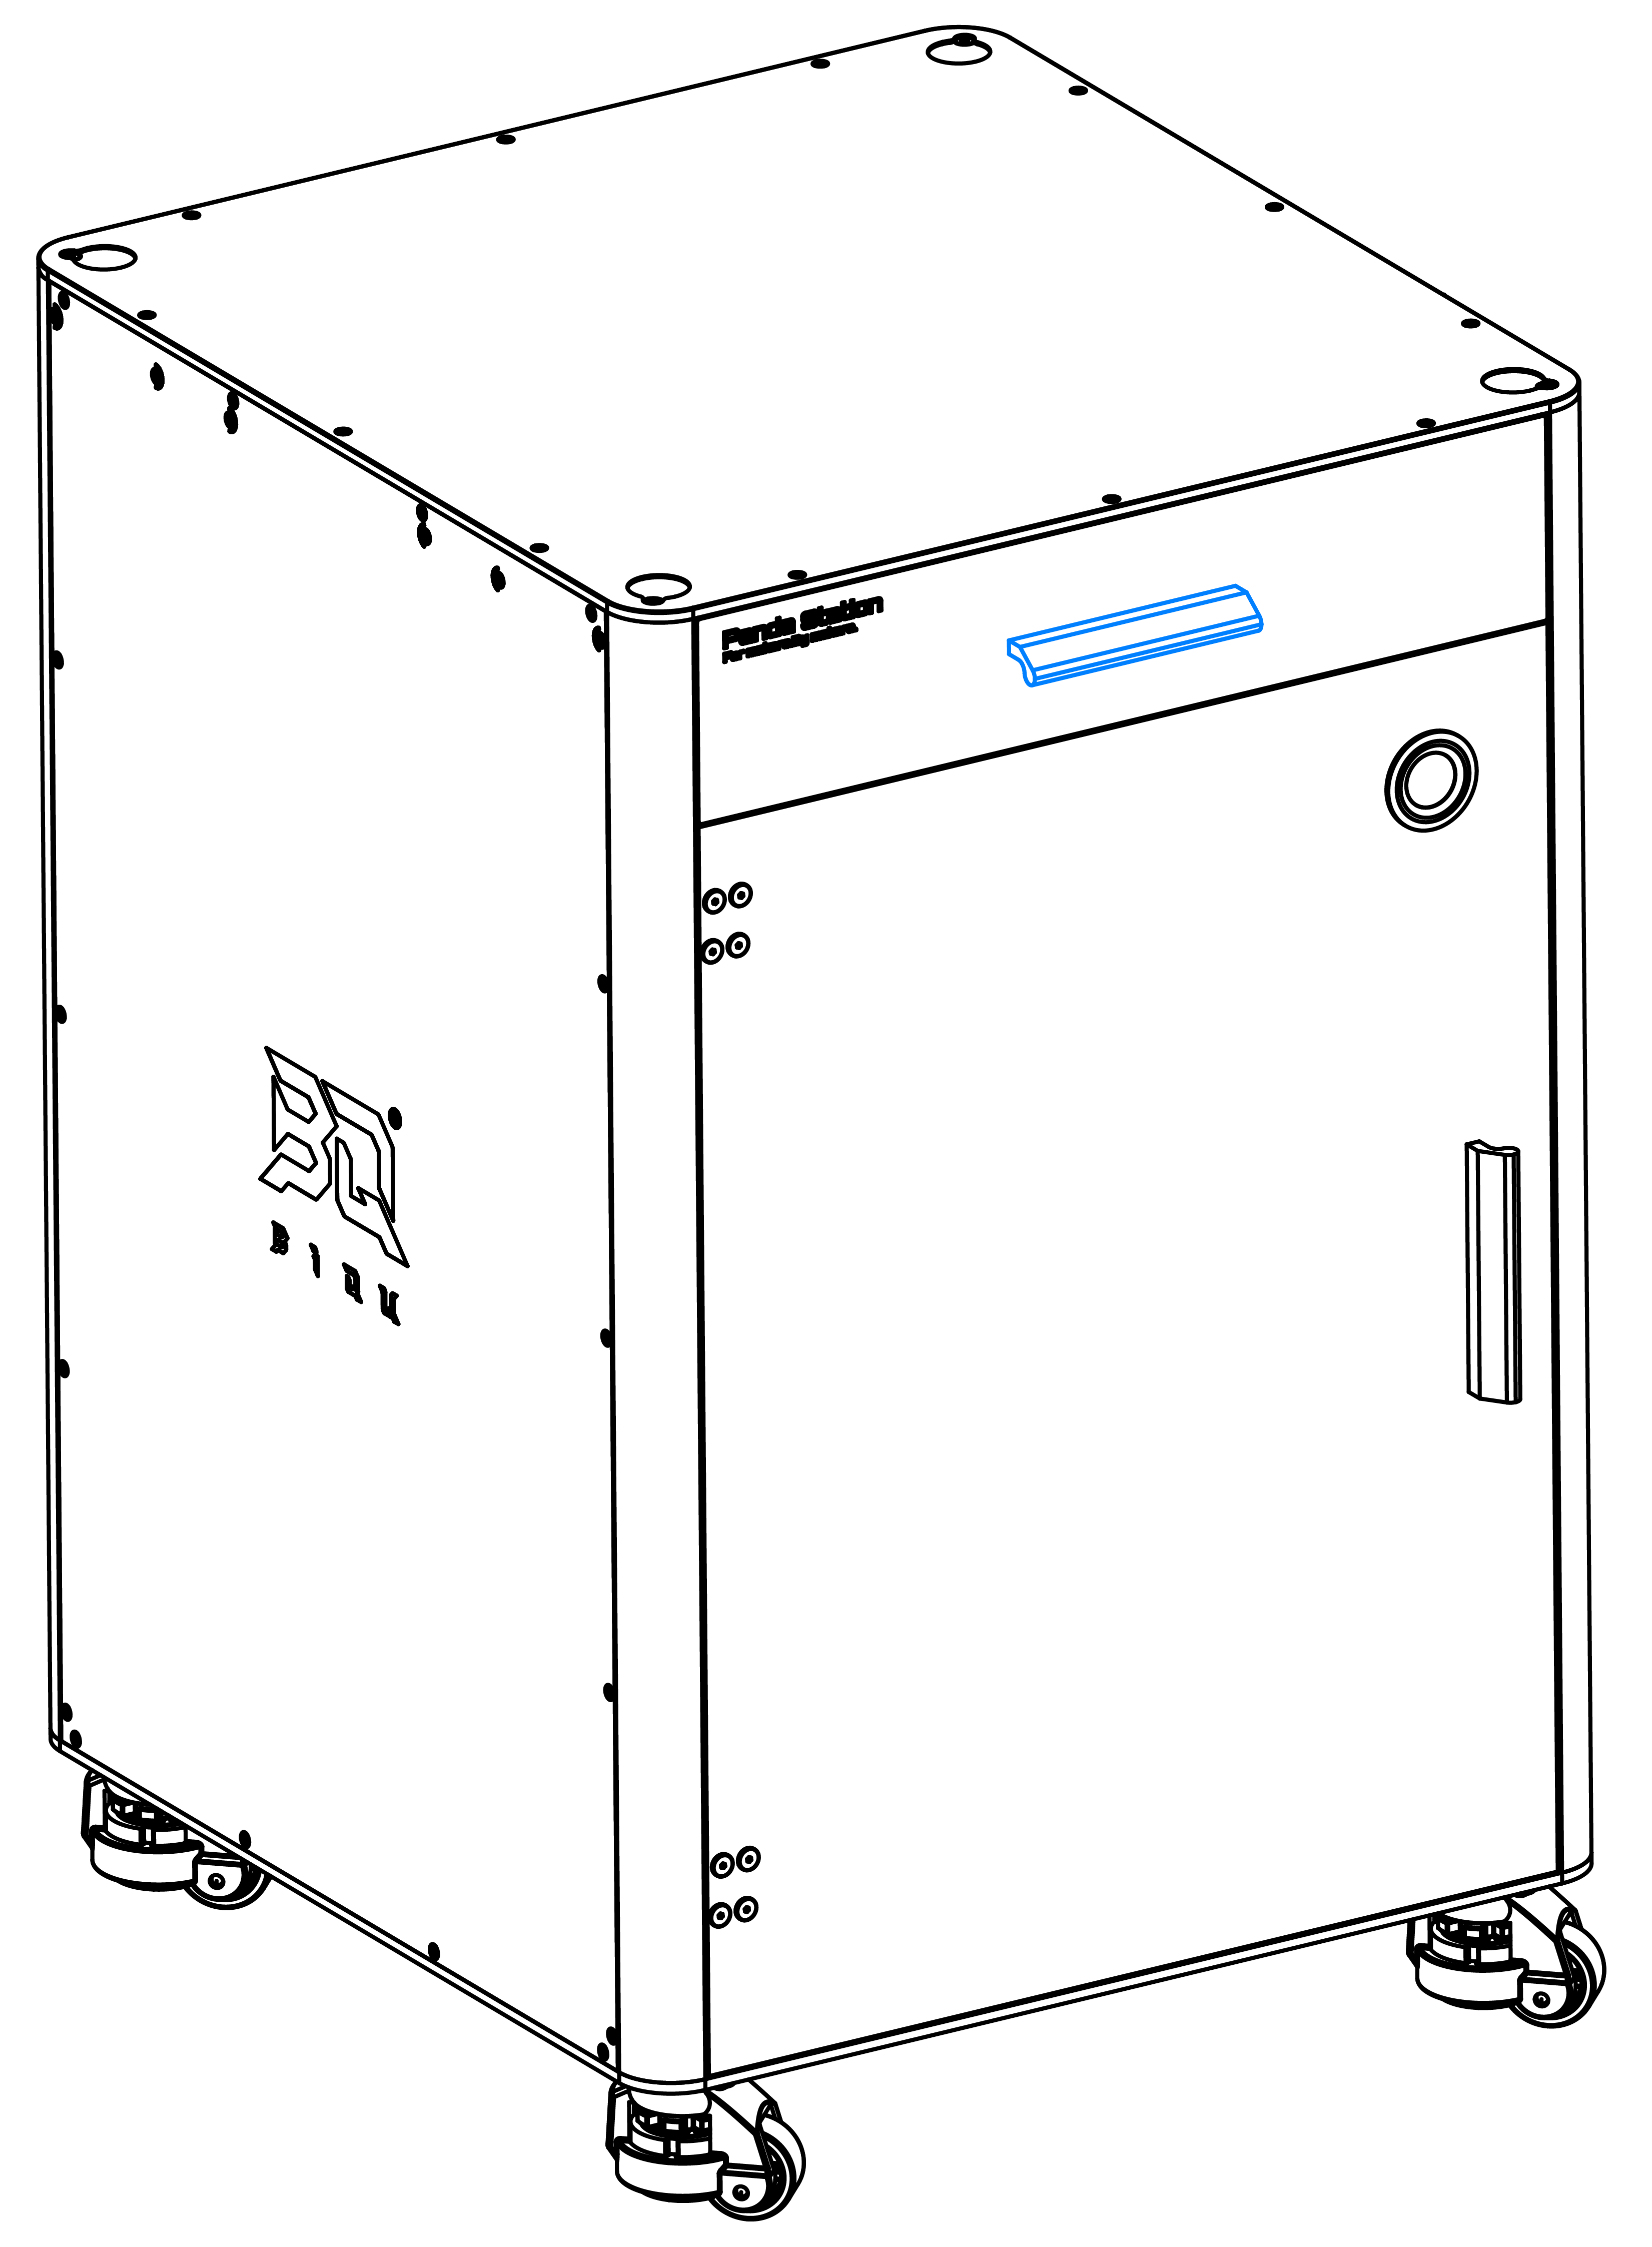
Completed assembly result
Step 3: For H2D compatibility, mount the emergency stop bracket
Use an Allen key to remove the 2 countersunk screws as shown.
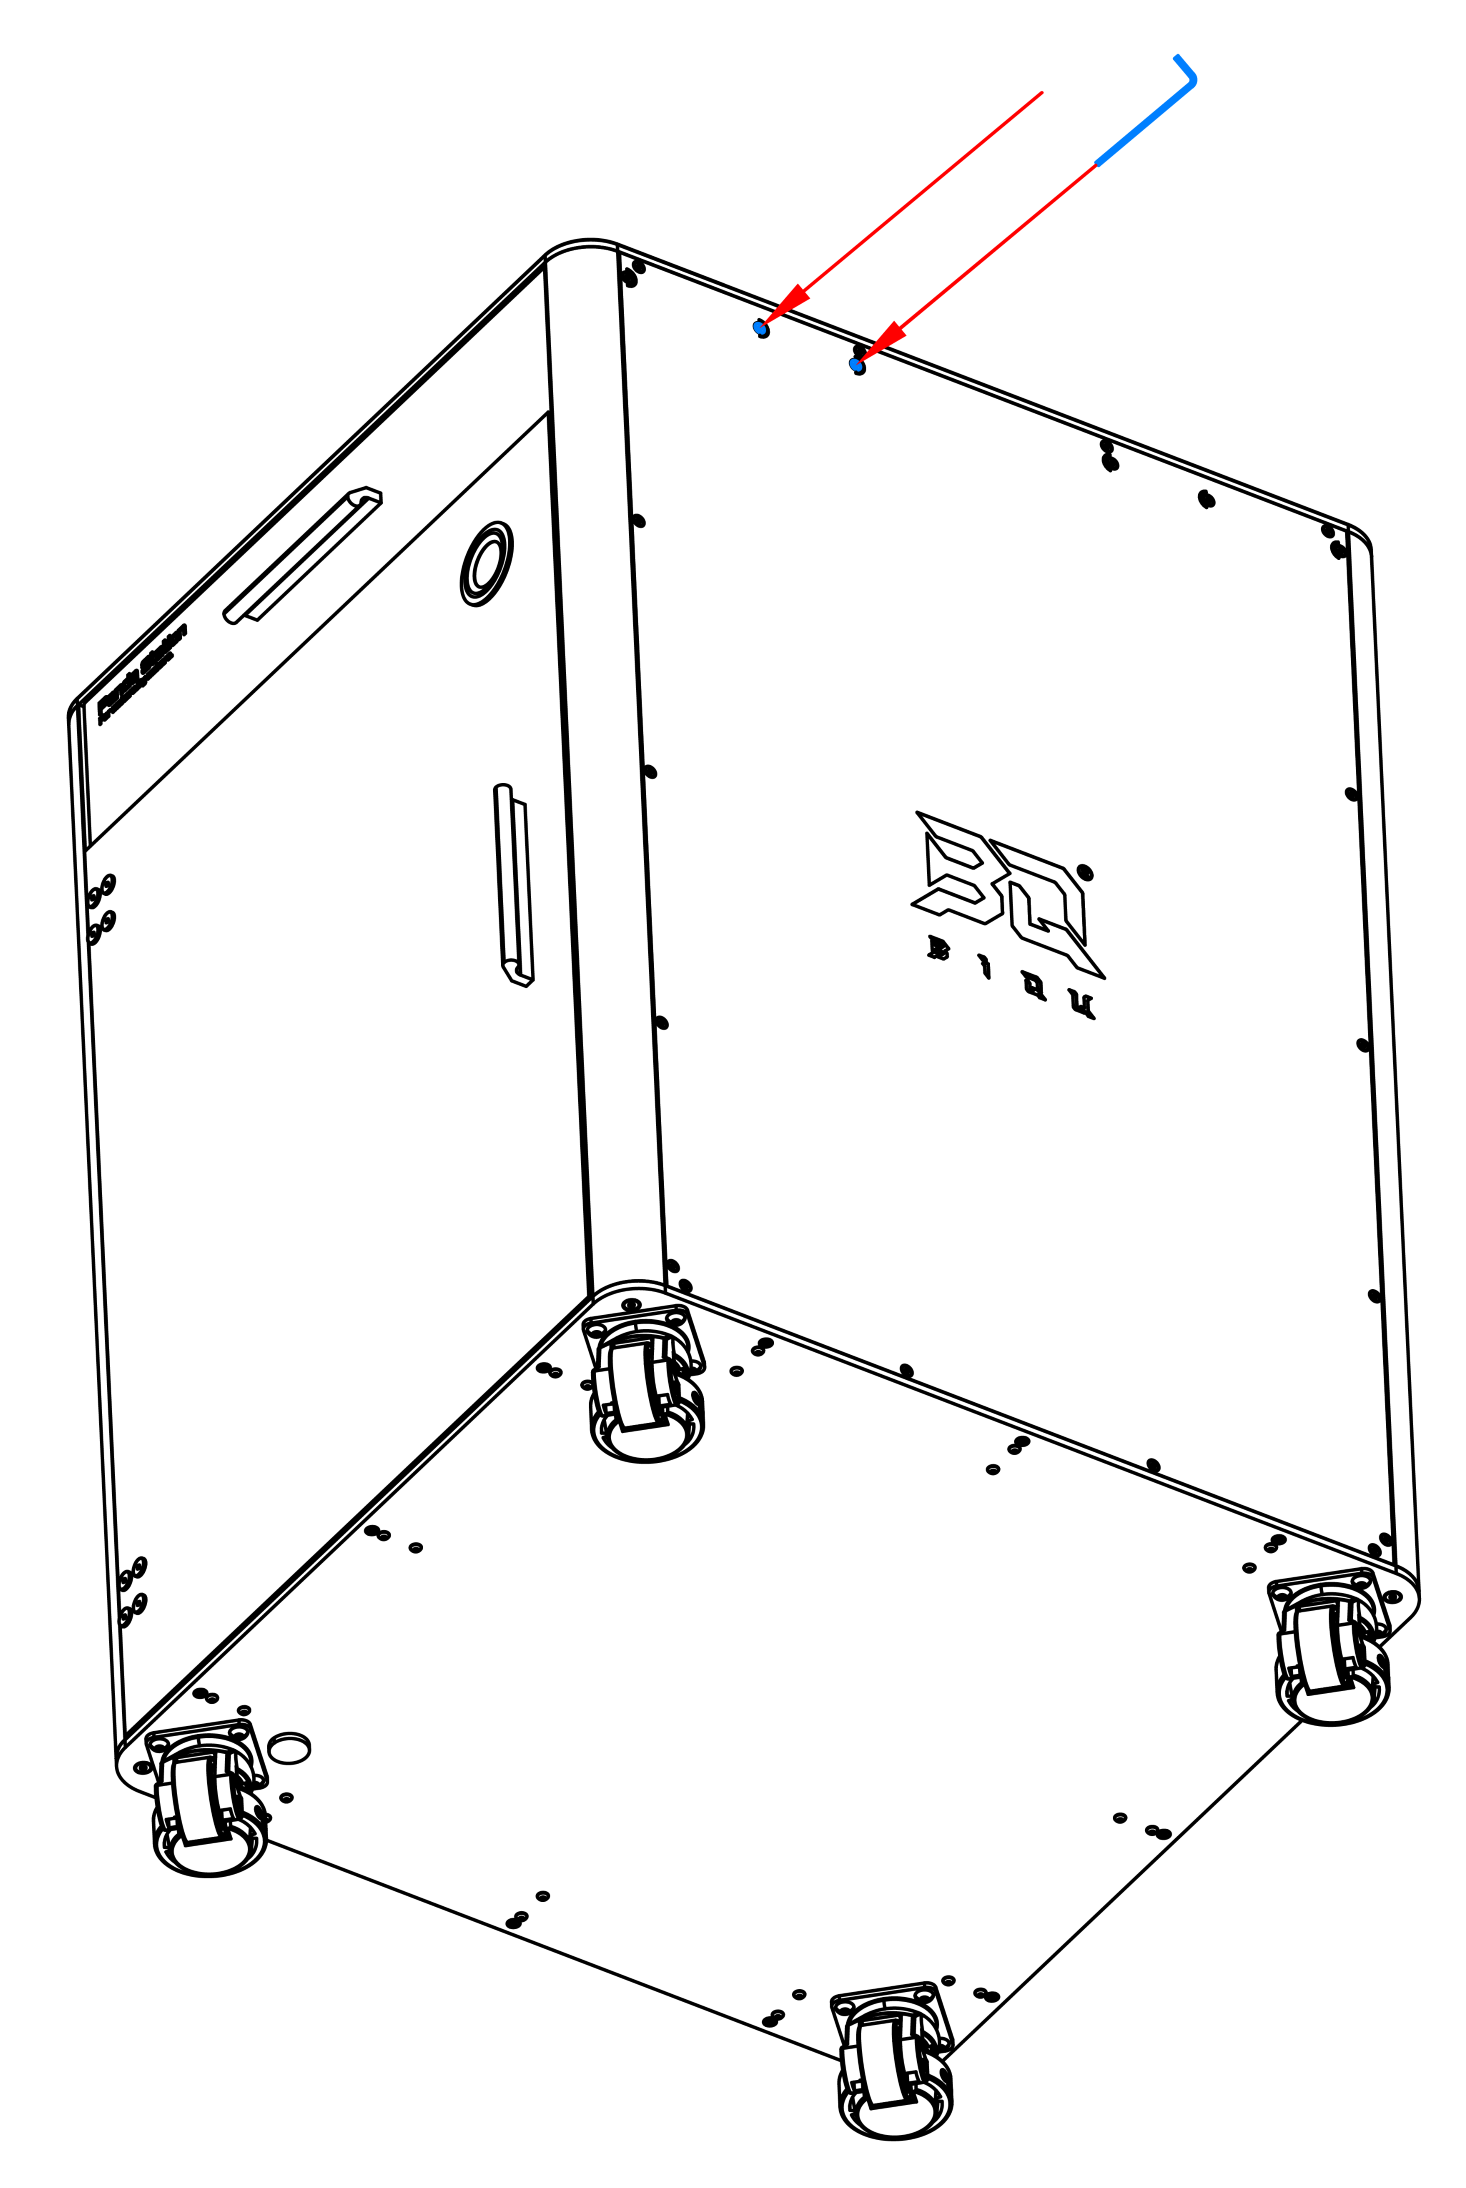
Then use an Allen key to fasten the 2 pcs. M3×10 screws to mount the emergency stop bracket.
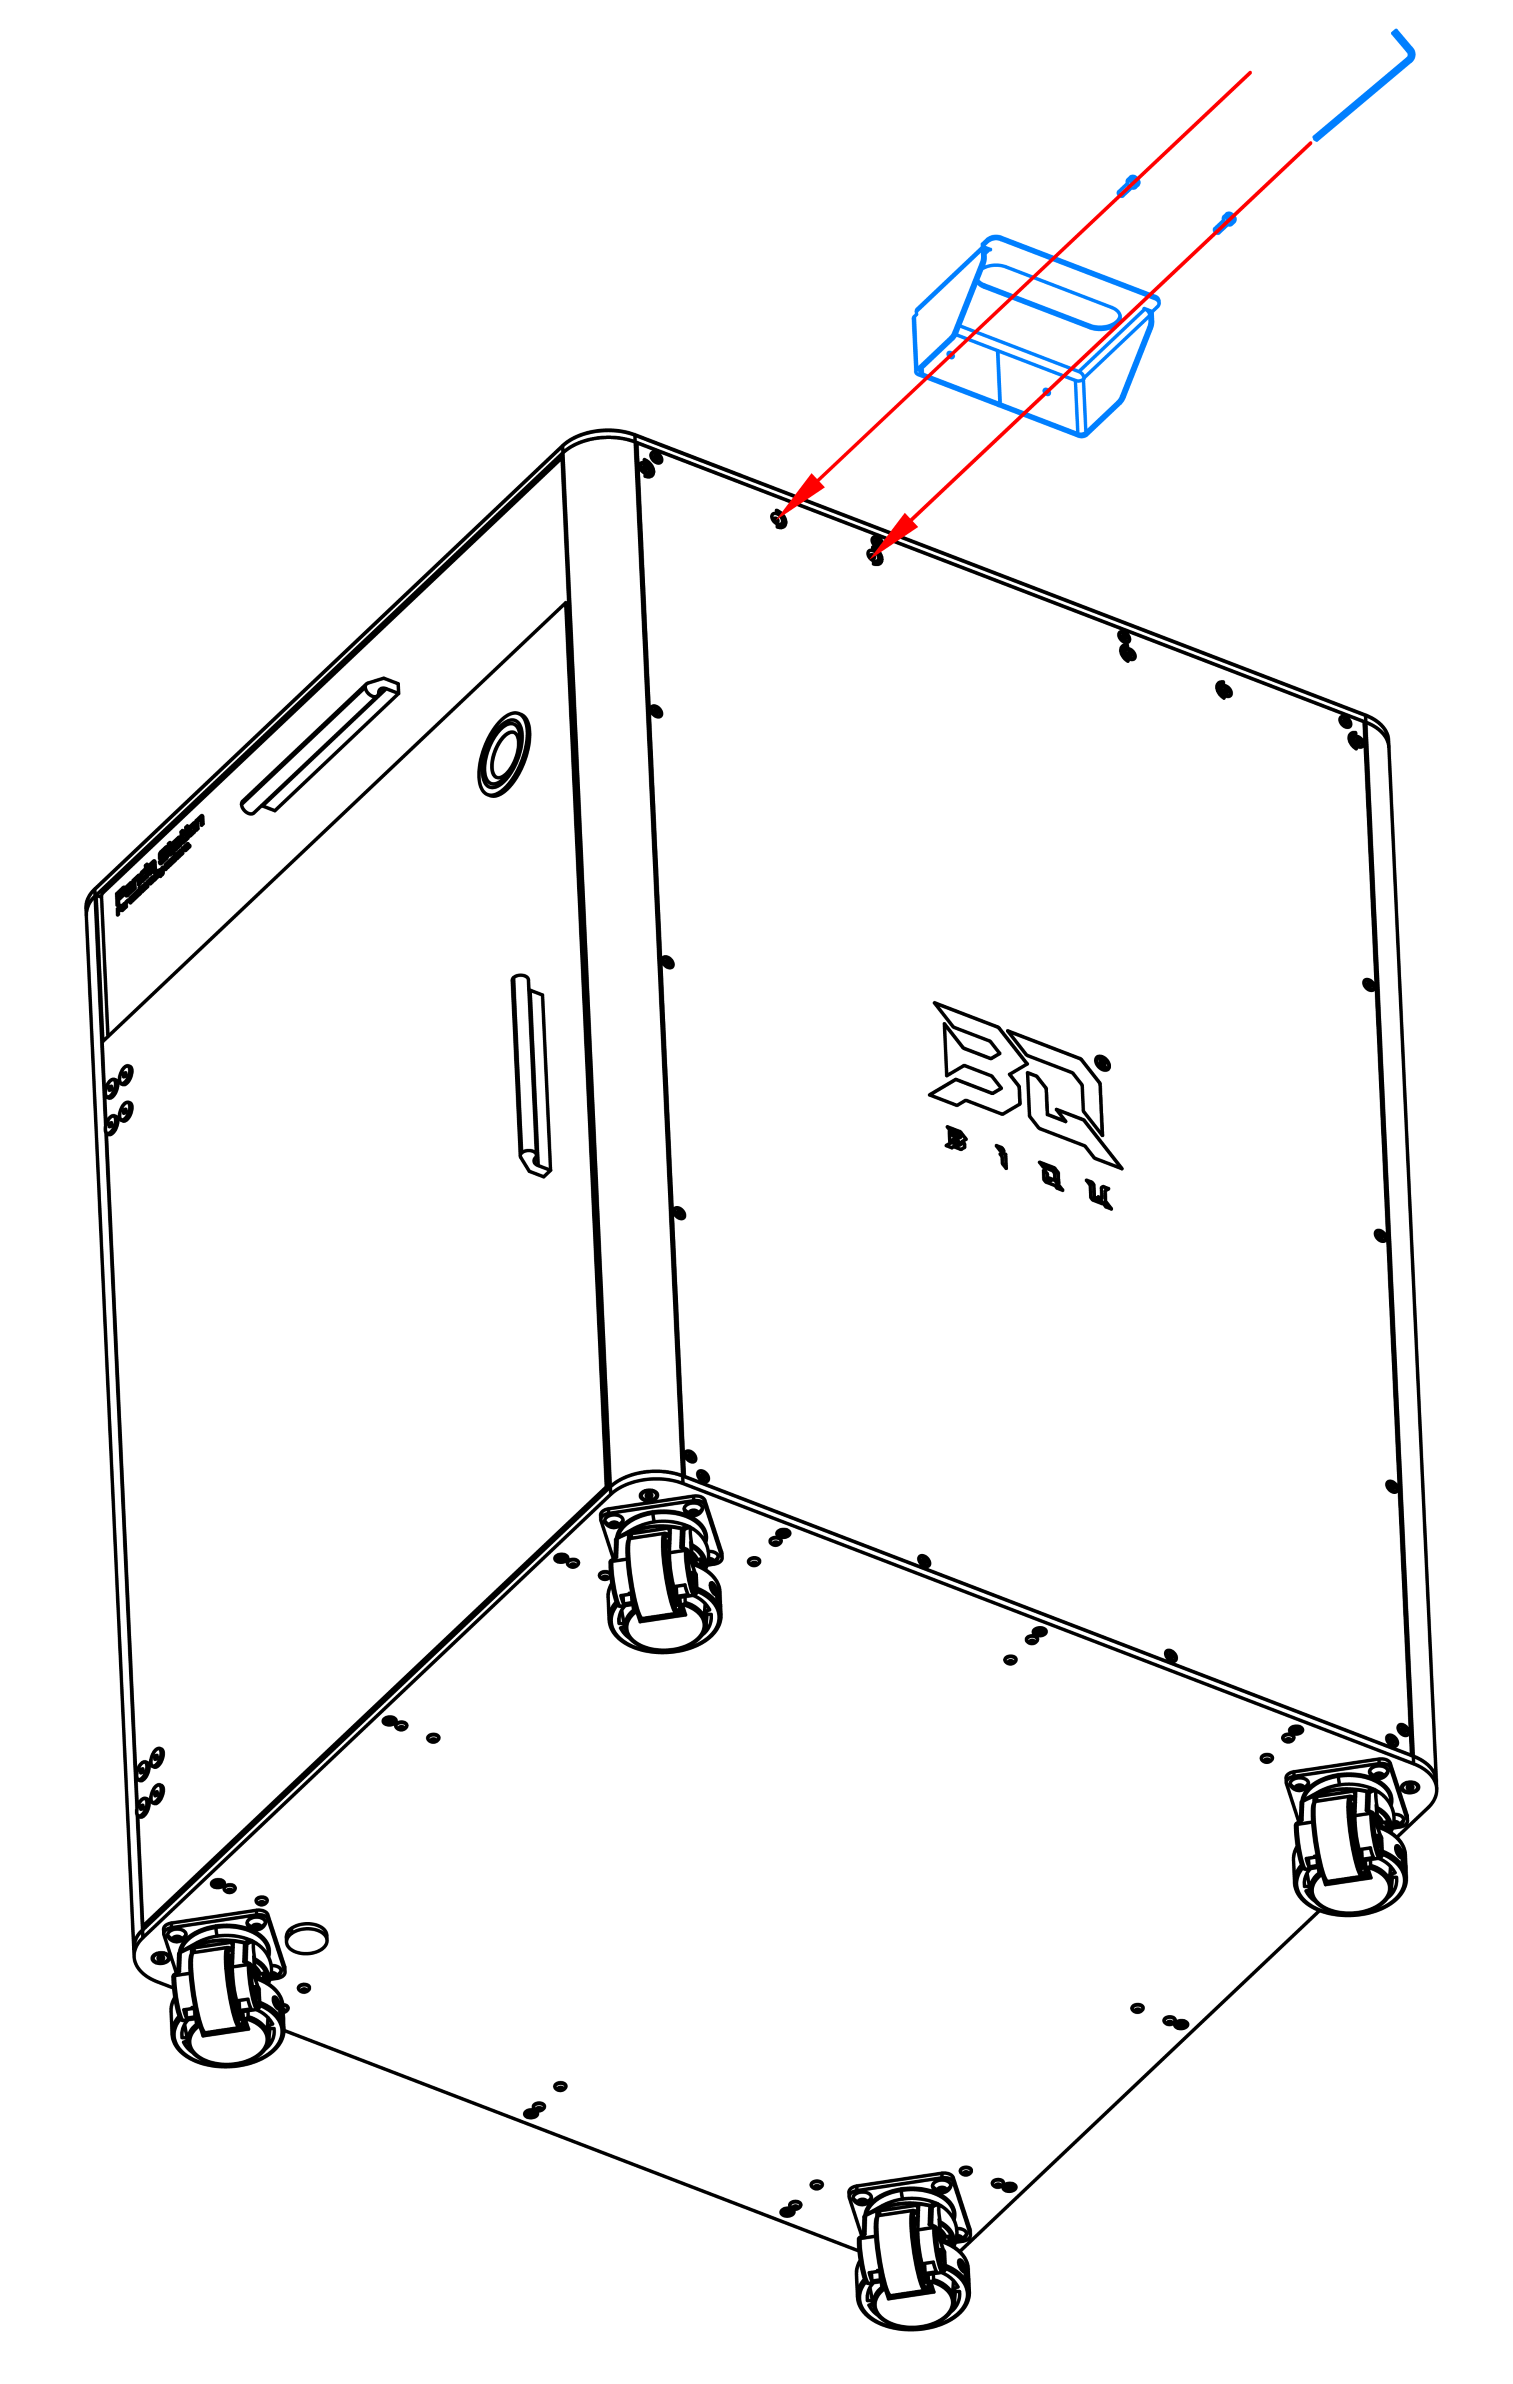
Completed result